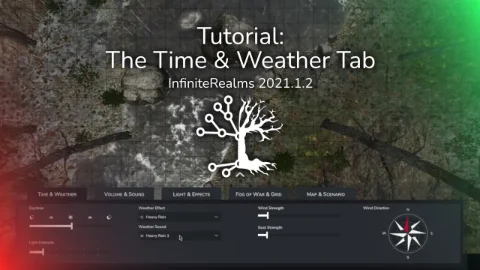
Time & Weather
The Time & Weather Tab is one of the most powerful tools in the game masters hand that Infinite Realms has to offer. The tab can also be opened via the hotkey T.
 Time & Weather Tab in 3D mode with all options.
Please mind that some options may be deactivated depending on your subscription tier. All options are unlocked on the Forest Creek map, give it a try!
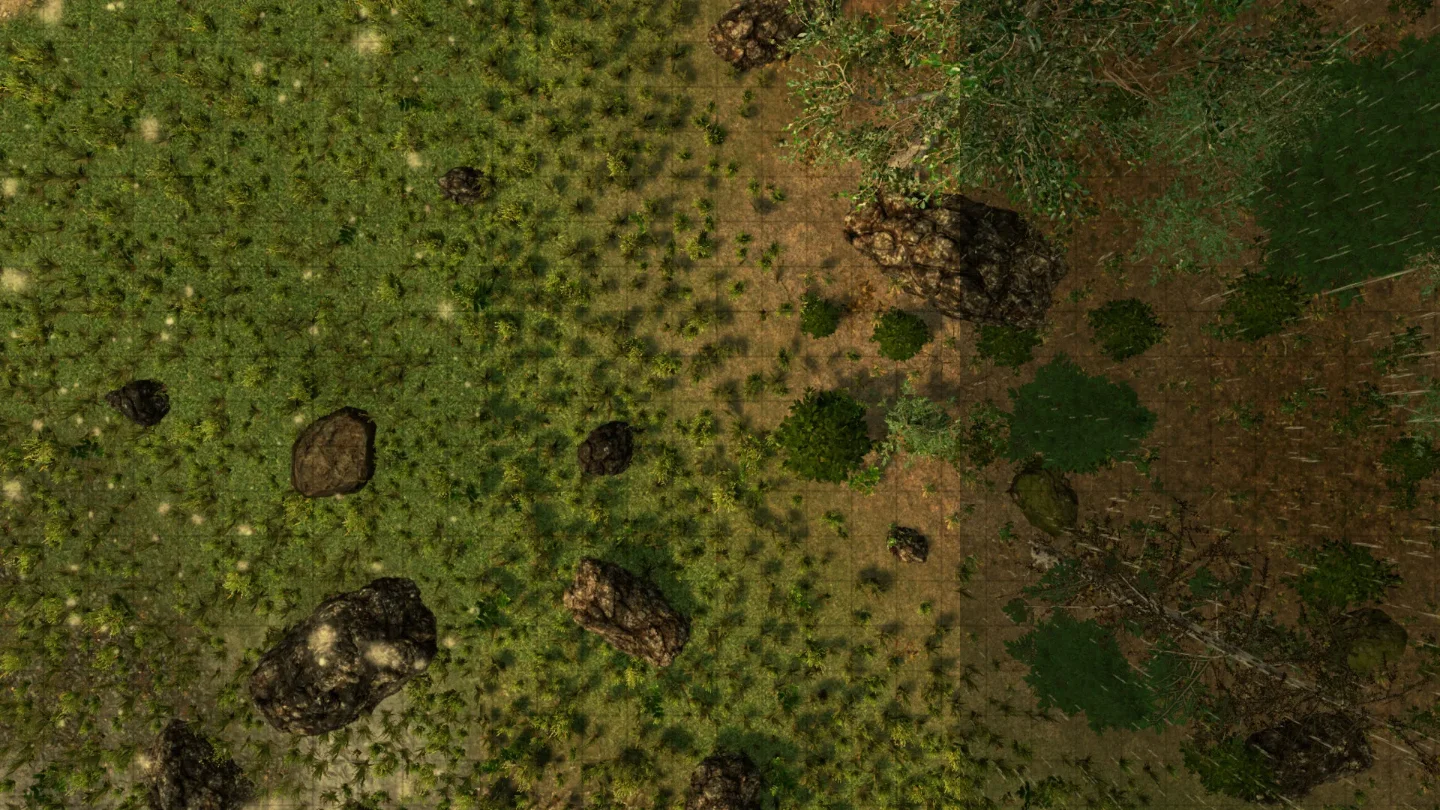
Daytime
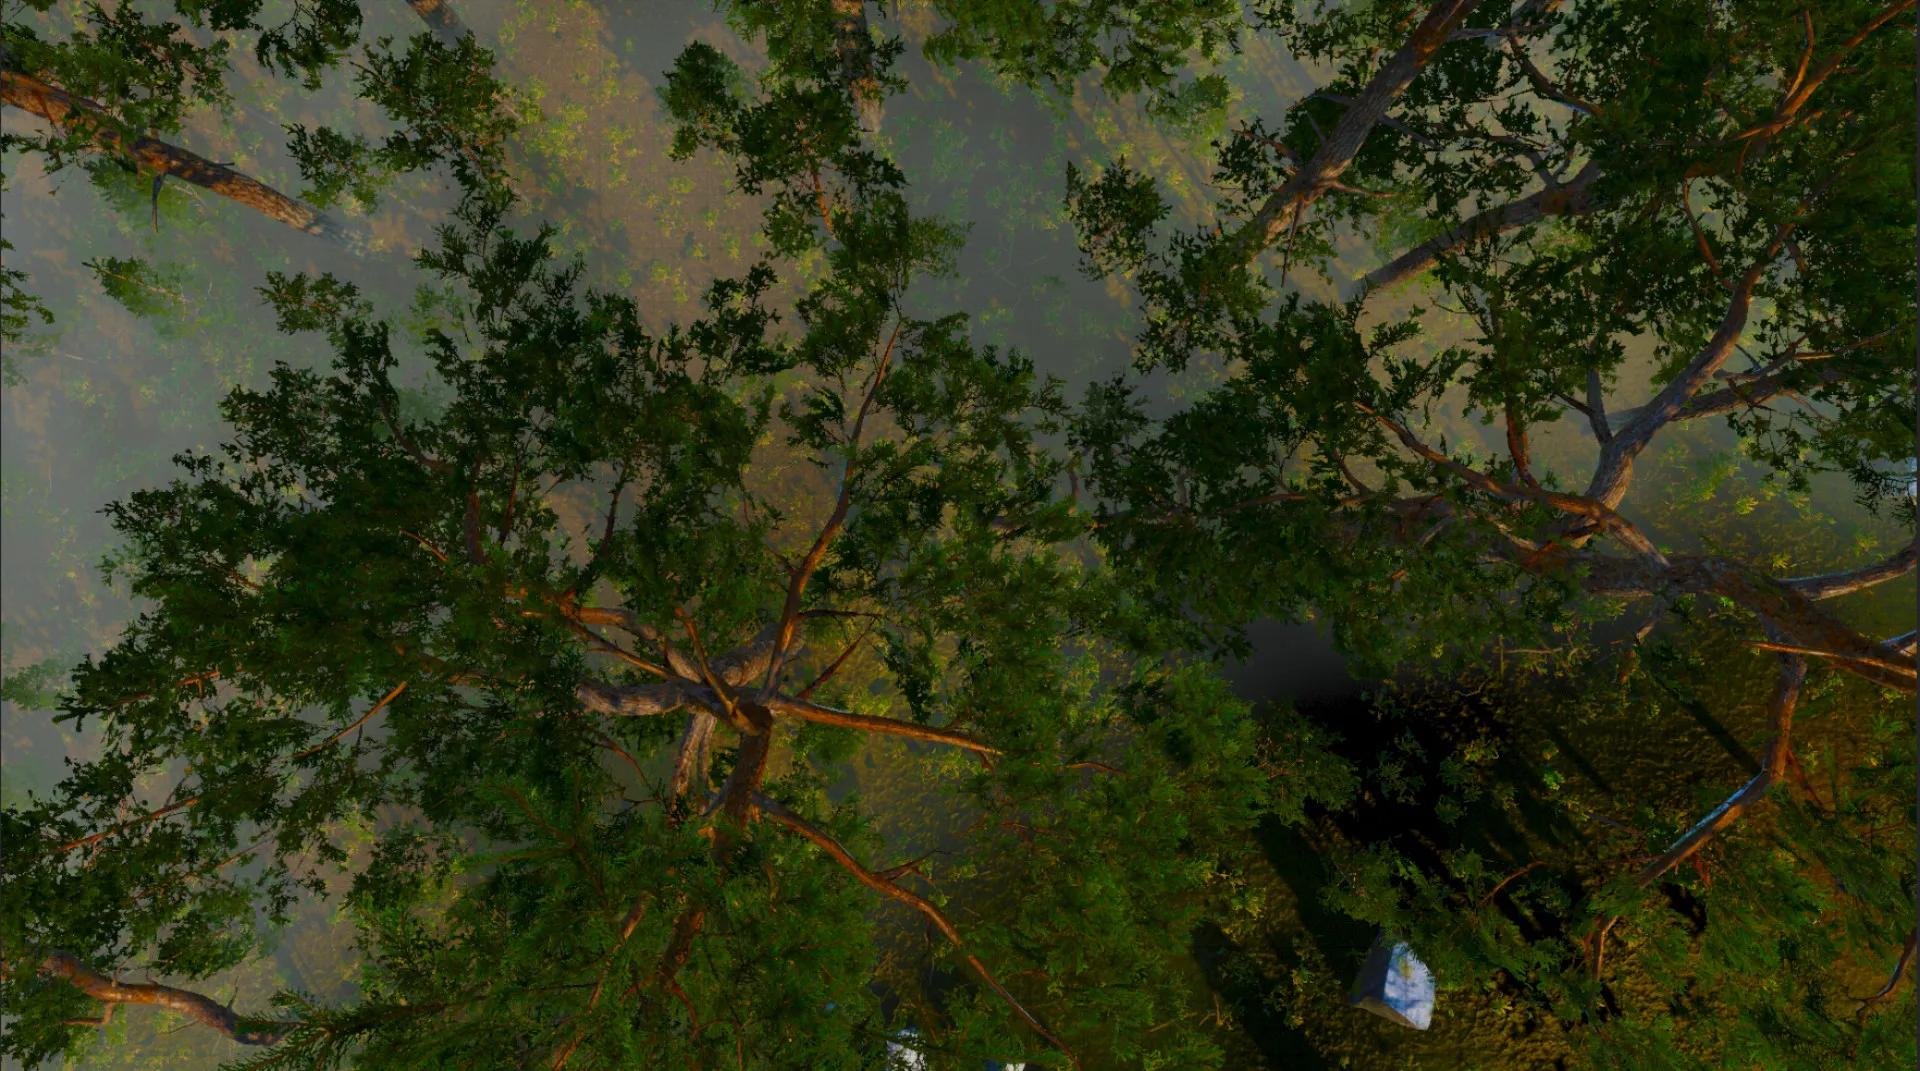
A full 24 hour cycle on the Kóngulódalur map. Time is a fixed setting and does not run by itself if you do not use the appropriate slider.
In a weather profile with clear skies or light clouds, the position of the sun and the moon has a corresponding effect on the shadows cast in the scene.
This setting provides the ability to accurately depict changes in lighting and visibility. This can greatly enhance immersion and realism for players, as they can experience the game world almost as if it were a real place.
Light Intensity
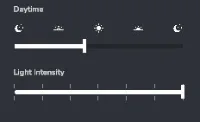
Exposure works by adjusting the brightness of the entire scene as a whole. It can be used to make a scene appear brighter or darker, depending on the desired effect. The exposure effect is based on a simulated camera’s ISO, aperture and shutter speed. Increasing the exposure will make the scene brighter and decrease the exposure will make the scene darker.
One of the main benefits of the exposure effect is its ability to enhance the mood and atmosphere of a scene. For example, a low exposure can create a dark and mysterious atmosphere, while a high exposure can create a bright and vibrant atmosphere.
In addition to enhancing the mood, the exposure effect can also be used to optimize the visibility of a scene. If a scene is too dark or too bright, Light Intensity can be used to adjust the brightness and contrast to make it easier to see.
Weather Effects
There are several weather profiles available. Some with and some without precipitation. This is the profile Light Snow on Kóngulódalur
The profile first affects the cloud cover and thus the light intensity and color, as well as the shadows cast. In addition, some profiles have atmospheric haze that limits visibility.
Perhaps the most important point is precipitation. There are different profiles with rain, hail or snow. Rain and hail also automatically add a suitable sound clip to the SoundStage.
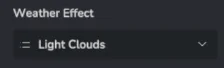
Please note that not all weather profiles are available on 2D maps. Various types of cloud cover without precipitation would have no influence on the map and are therefore not displayed at all.
Mist & Fog
The Mist & Fog button opens a new configuration window to activate and customize a mist or fog layer in the scene.
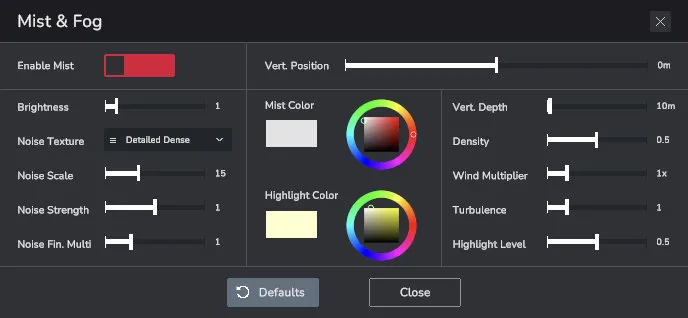
Brightness is where you can set the luminosity of the fog. Especially in night scenes the default value can be too high.
All settings around Noise Texture have an effect on the general appearance of the fog - how fluffy and patchy or compact it is, for example.
In the upper right corner you find Vertical Position. Here you can set where the center of the fog volume is relative to the ground level, which can be set in the Scenario Tab.
Vertical Depth indicates how thick the fog cloud is. So the fog can be configured as a thick soup you’re stuck in, or as a thin layer of ground fog!
 Some ground fog
The Wind Multiplier can be used to set how much the wind in the scene affects the fog. Thus it is possible to have a static fog with a storm, or a relatively fast moving cloud with little wind.
Turbulence is the setting for the vertical “bubbling” of the fog. With this you can make it a bit more dynamic.
With Mist Color you can adjust the basic color of the fog. So not only simple water vapor is possible, but for example a magical, poisonous green cloud, smoke, or a dust storm!
Highlight is quite a subtle effect with this system, which depends heavily on the ambient light. So don’t be disappointed if it has little effect under the circumstances in the scene.
Snow & Ash
Another great environmental effect is Snow & Ash. This button leads you to a configuration window that lets you activate and configure ground cover.
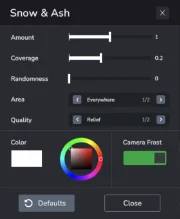
Amount sets the thickness of the snow or ash layer. A low amount still lets the underground shine through.
The effects of setting Coverage mostly depend on other 3D objects like trees, stones and buildings. It determines how many holes are in the cover and how big they are.
Randomness lets you play around with how the cover looks. This is more effective the lower the coverage is.
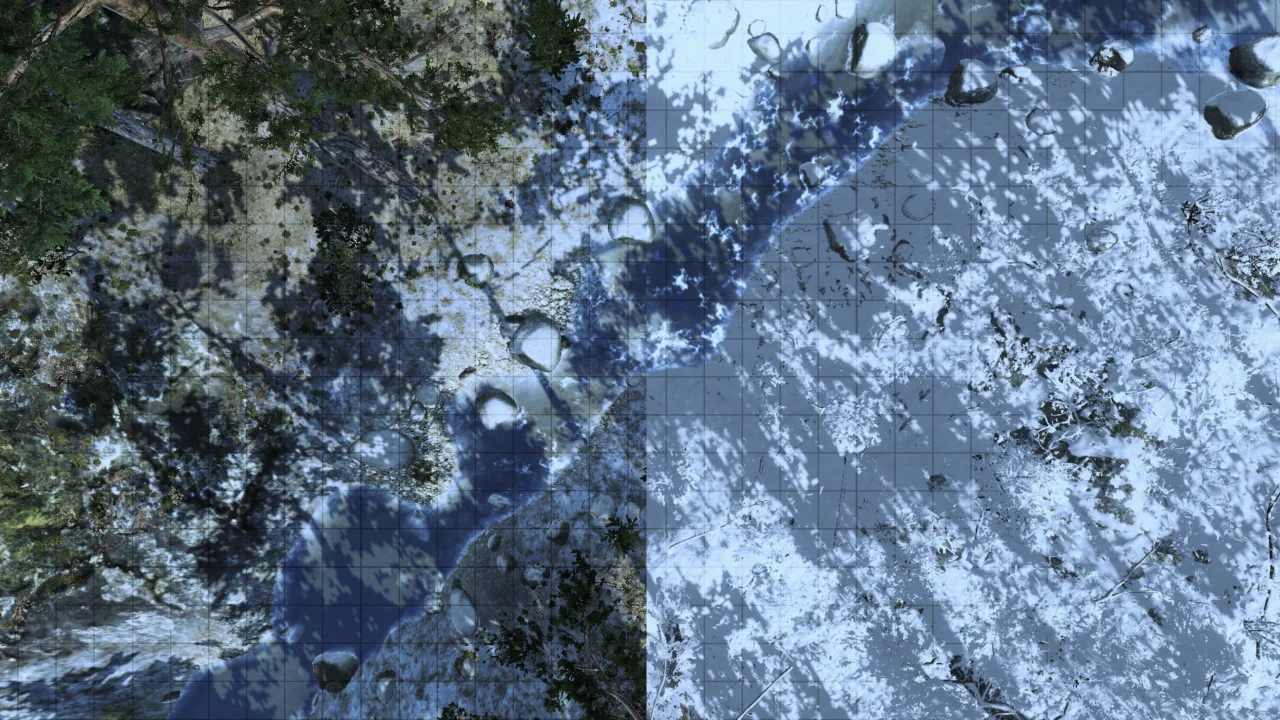 Scene without snow / with snow
Setting Quality to Flat may improve performance at the expense of visual fidelity. Relief has a minor 3D effect to it.
Finally you can set the coverage Color, add a Camera Frost effect and reset to Defaults.
Moon & Aurora
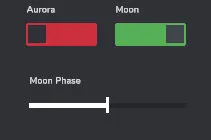
The Moon plays a slightly larger role, as it influences the lighting and shadows cast in the 3D scene during the night.
The Moon Phase slider, as the name suggests, allows you to configure the moon phase continuously. From new moon, crescent, and half moon to a full moon, of course, everything is possible! The moon, like the aurora, can only be seen directly in the 3D view of a 3D scene. On 2D maps these options are deactivated.
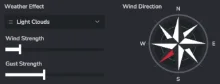
Wind
Wind & weather in action - cloud cover and wind even influence how shadows are cast.
Wind Strength represents the wind speed. The stronger the wind, the more precipitation is deflected to leeward and the more trees and bushes bend.
Changing Wind Strength also automatically sets an appropriate wind sound effect on the Sound Stage.
Gust Strength - As the name suggests, the relative strength of gusts is set here. The gusts can be seen mainly in the vegetation - for example, when they sweep across a meadow!
Video
It was recorded some time ago with Infinite Realms version 2021.1.2 and is thus not up to date, e.g. the Mist & Fog window is missing.
But the basic principles and workflow still apply!
Click the cover picture to watch on YouTube!